Remapping Keys in Windows using PowerToys
Broken keys in your keyboard or just want to remap keys in Windows no need to use any third-party software like Autohotkey. PowerToys by Microsoft, a freeware and secure software has a set of utilities to enhance the functionality of Windows. One of its features allows you to remap keys on your keyboard. Following section gives requirements and steps to remap keys in Windows using PowerToys.
PowerToys Requirement
- Windows version:
- Windows 10: 20H1 or newer
- Windows 11: All version supported
- System architecture: x64 and Arm64 architectures are currently supported.
Installing Powertoys.
You can install PowerToys using the following:
- Microsoft Repository: You can find the latest version of PowerToys on the official Microsoft repository. Once downloaded, run the installer and follow the on-screen instructions to complete the installation process.
- Microsoft Stores: Search for PowerToys and install it.
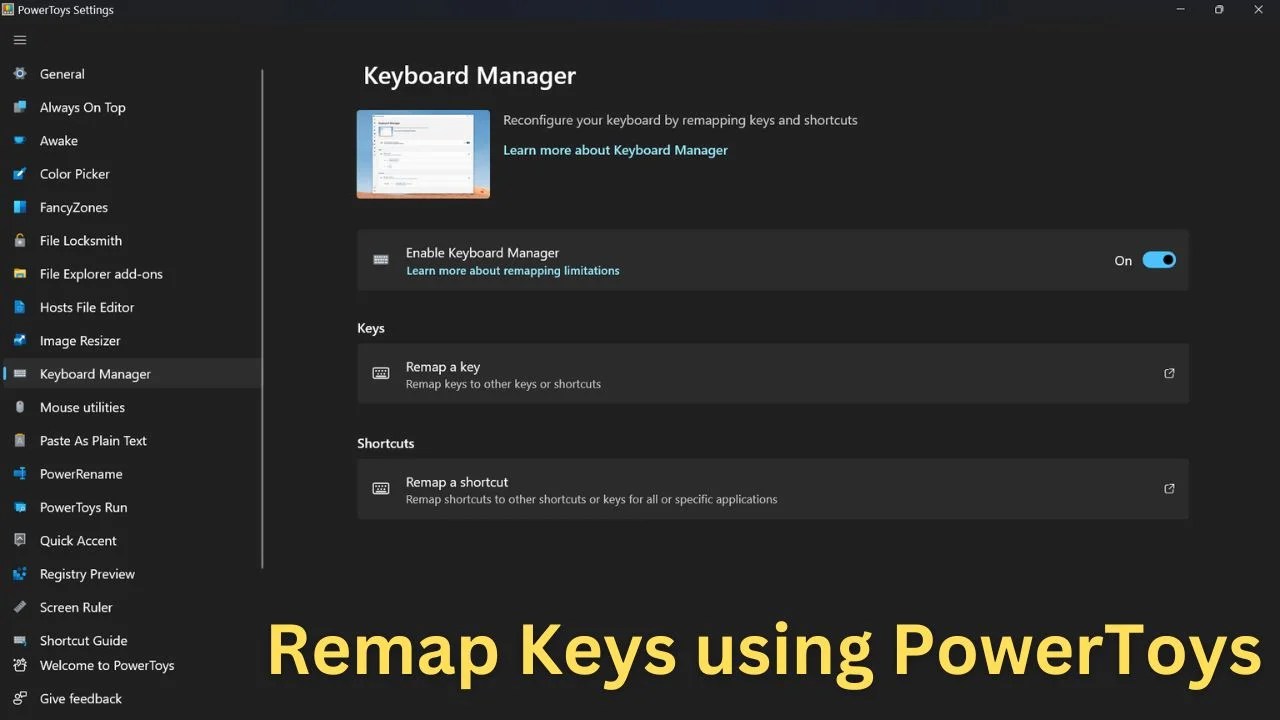
Remap keys using Powertoys
Follow these steps to re-assign keys in Windows using PowerToys
- Open PowerToys: This opens PowerToys Settings windows
- In PowerToys Settings, go to Keyboard Manager and click Remap a key

- In Remap keys window, click “+”, to add keys that you need to remap.

- Say you want to map “D” key of your keyboard to “E”, select “D” in Physical key and select “D” in Mapped to.
- Once you’ve configured the key remapping, click on the “OK” button to save your changes.


Confirm remapped keys
After remapping, it’s important to test them to ensure they work as expected. Open a text editor or any application where you can type and try out your remapped keys. If everything is working correctly, you’re all set!